
How to Properly Prepare Walls for Painting
Whether planning to refresh your bedroom’s feel or overhaul your entire dwelling, color grading will always be the number one on your to-do list. Colors allow you to pick and create your desired environment around you. Whether you crave a luxury setting or a rustic feel, you must select the right paint color. But what measures are expected to take to ensure a perfect finish for your paint job? You must prepare the walls exceptionally well before applying your paint. Here is a five-step guide for preparing your walls to adhere to the process of your paintwork. Let’s explore these methods:
1- Protect the Area
Before embarking on this venture:
1. Make sure your furniture and floor are well protected.
2. Use cover sheets or plastic coverings to wrap your furniture and floor to protect it from unwanted paint splatters and spills.
3. Take your furniture away from the walls needed to be prepared for the paint job, and place them in the center of the space.
4. Open the doors and windows to ensure unrestricted flow of air and better ventilation in the room.
5. Assemble all the required tools beforehand to prepare for any emergency condition and save yourself the trouble of finding anything when needed.
2- Clear the Wall
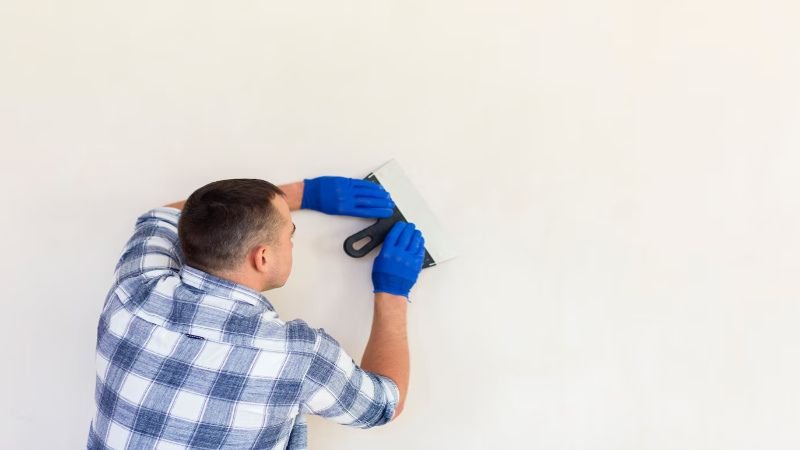
Have a keen gaze to spot any screws, nails, or hooks embedded in the wall to recognize holes, scratches, and cracks on the wall. Now take out all the unnecessary screws and nails and make the surface free of lumps. Clear the wall by removing any existing adhesives, cracked putty or tapes, etc., to free it from all bumps. Scrape all the extra material out of the wall. Detach switchboards and electric switch coverings, or conceal them using tape.
Remove dirt and wipe out the cracks and holes thoroughly. Fill adhesive or a sealant to level the surface and leave it to get dried adequately, such as Marianne Shilllingford direct to empty ” to make the cracks a little deeper and broader, use the pointed corner of a scraper to work out the cracks.” According to her, this way, the filler would settle potently. Get the filler to rest till it gets dried up properly. As a dried filler, let the paint get absorbed more effectively. Apply a protective top coat before painting to get the surface to flatten more evenly.
Also Read: Best Eco-Friendly Paint Options for 2024
3- Sand the surface
Once the filling or adhesive putty gets properly dried, move towards sanding the surface. Sanding helps you clear the surface of bumpy stains, grease, rust, smoke, etc. You may use an electric sander or a sanding block if available. Use an electric sander to get the job done conveniently in less time. Sanding of the surface is a part of wall preparation that must be completed to get a perfect finish to your paintwork. Choose to use 120-grit paper for better sanding results. Remember to discard the dusty one and use a clean one.
4- Remove Dirt and Debris
After sanding:
1. Remove all the dust and residue from the surface. You can choose to clear the wall by dusting or by washing it with detergent and water.
2. If you opt to wash the wall, wait until the surface gets completely dried.
3. For fast drying, switch on the fan and leave the doors and windows wide open to improve ventilation and air movement.
5- Apply Primer on Walls
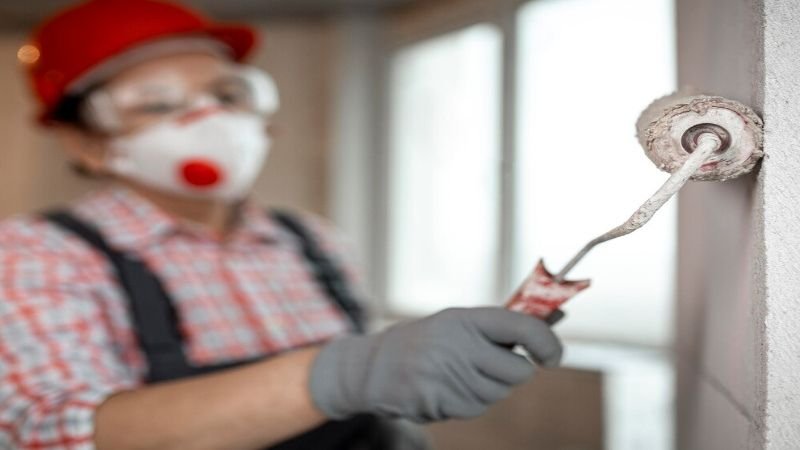
Once you have completed all the previous steps efficiently, choose a suitable primer to make a strong foundation for your paintwork. Prime helps improve the paint finish and provides strong adherence to the paint. It ensures complete coverage, durability, and sustenance of your entire paintwork. Some paints are self-priming and don’t require a separate primer application on the surface. Instead, it is good to go after thoroughly cleaning the wall. If the paint does not contain self-priming properties, then a primer is essential.
Moreover, primers are used only on untreated walls or surfaces that have never been painted. Skip this step in case of an already treated wall or paint touch-up. Additionally, use quick-drying primers to elevate your painting experience. If you apply an oil-based primer, leave it for a prescribed time to dry up, as it takes longer than a regular water-based primer. Your wall is adequately prepared for applying paint when the primer completely dries.
How to Prepare Walls for Painting- FAQs
Q1- Do you need to sand the walls before painting?
Ans: Sanding a wall is the most crucial part of paintwork. It helps remove unwanted bumps and levels the surface for an even and smooth paint job.
Q2- How do you prepare an interior wall before painting?
Ans: Preparation of an interior wall involves steps such as removing nails and hooks, sanding the wall, dusting or washing the surface, and applying primer.
Q3- How do you clean painted walls before repainting them?
Ans: Repainting or touching up pants involves following cleaning methods depending on their intensity. For example, mildly dirty walls require a sponge damped with warm water, whereas more greasy or stained walls require a detergent or strong cleaning products to be washed thoroughly


Leave a Reply