5 DIY Paint Work Techniques You Must Try
Introduction
Besides being a necessity, painting your living space yourself can be a rewarding hobby. Mastering several relevant painting skills can refresh their living space as per their current disposition or state of mind. Whether you are a well-versed DIY connoisseur or a motivated beginner, you can completely revamp your space by offering expertise in essential paintwork tips and techniques. Theoretical knowledge of color schemes, their combinations, required tools, and the proper surface preparation can transform your dwelling into a stunning masterpiece. Let’s explore all the DIY techniques together to elevate your paintwork experience and make your time and money worth spending.
Preparation
Proper surface preparation is the number one technique for achieving a perfect finish. Preparation includes:
1. Cleaning dirt
2. Repairing cracked and damaged surfaces
3. Protecting side areas
4. Selecting suitable paints and tools
Proper preparation ensures longevity, adherence, and flawless finishes to your paint. Here is a step-by-step guide for preparing your intended paint surface to accomplish your project.
A- The first step is cleaning and repairing the surface. Remove all the dust and grease, and wash your surface with detergent. Wait until it dries. Now, fill all the cracks, scratches, dents, holes, and damaged surfaces with joint compound or putty. After flattening the surface, sand these areas once they have dried.
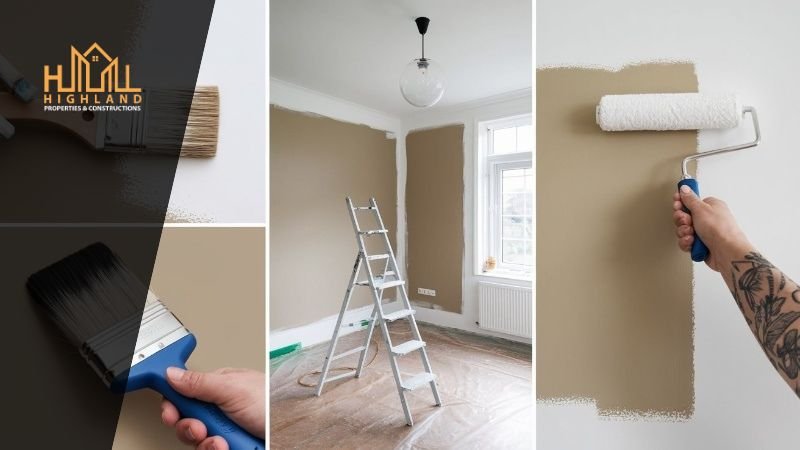
B- After preparing the surface for your DIY paint project, Protect Your Space by covering the floor, furniture, edges, and switchboards, if any, with sheets and newspapers. These coverings will ensure the protection of all these things from paint spills and splatters. You can use tape to cover and create clean lines around doors, windows, and trims.
C- Choose the right paint, keeping the required finish, durability, eco-friendliness, and the nature of your surface and space in mind. To ensure longevity and full coverage, select high-quality, VOC-free paints for your project. Consider a variety of high-grade brushes, sponges, rollers, and trays to play with a range of paint designs and achieve a professional finish.
Also Read: Best Paint Finishes for your Kitchen
Paint Techniques

After preparing your surface and choosing paint colors and the required tools, start with basic painting.
A- In the first step, use primer on untreated surfaces or those that need a completely different makeover in terms of paint color and finish. Priming a surface is a very significant step in paintwork. It makes the surface smooth, conceals marks, ensures the perfect cohesion of the paint, and provides a sleek paint finish.
B- When the primer dries up, paint with the corners and edges first. This technique is known as cutting. It is suggested that the areas where a roller does not reach be covered. Therefore, paint the corners and edges to achieve stain-free and rough patches on the surface. You must use angled brushes instead of rollers for these areas. For this purpose, dip the brush in paint and remove excess paint to avoid dripping and splattering. Apply the paint with steady strokes.
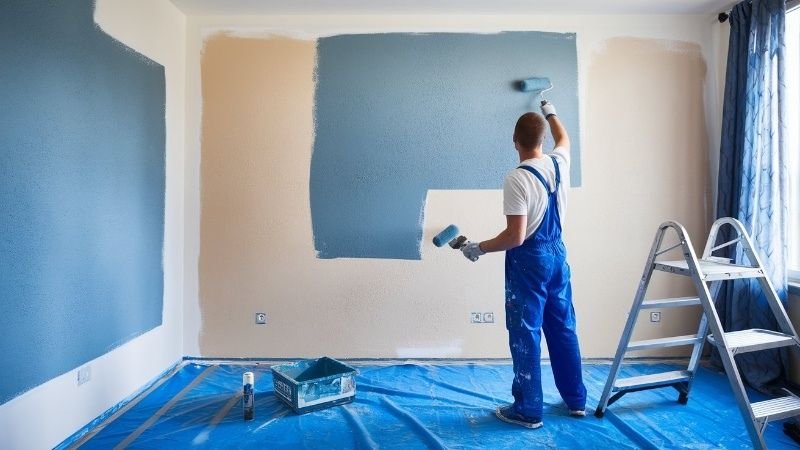
C- After covering the corners and edges of the room, you may now start painting the central areas. Use rollers to paint these regions of the wall. Take the required amount of paint in the roller tray and load it on your roller by moving it back and forth to try to remove excess paint and distribute it evenly on the roller. Paint in sections in W or M patterns. Blend the sections to avoid patches on the wall.
Advanced Painting Techniques
A- To attain creativity through different patterns on your wall, you would need to play with advanced painting techniques and tools. Sponging brushed pearls and dragging are advanced methods to showcase creativity, artistic depth, and sophistication in your project. Through sponging, you can add texture to your walls. When the base coat of your paint dries up, dip the sponge into a thinned-down mixture of paint and lightly dab it randomly on the surface to achieve a desired pattern on your wall. You can use a variety of colors for this technique. It leaves a textured effect on the wall.
B- You can use the rag-rolling technique to create a fabric-like texture on the wall. Load paint on the rag roller and apply it on the dried first coat of paint. Play with the roller in random directions, such as vertical or horizontal, to achieve a creative fabric look pattern on the wall. Load a pearlescent glaze on a brush to achieve a shiny finish on your surface. Apply it in long strokes on the dried first coated wall. This brushed texture reflects light and creates a glossy finish.
C- For a linear texture, use a dragging tool to apply long vertical strokes on the surface while the first paint coating is still wet. This technique, called Strié, adds depth and creativity to a wall’s overall look.
Paint Techniques for a Dramatic Effect
To transform the complete appearance of your living space and create a dramatic effect with the combination of paint colors, create ombre effects, metallic effects, and stencil designs. Specialty paint techniques can transform your space with dramatic effects and creative finishes.
A- The ombre effect is created by blending similar color variations on the edges. It gives a gradient color transition from a lighter to a darker effect. After applying a base color, apply a lighter or darker shade of the same color in a band across the top or bottom of the wall. Now, use a sponge to blend these colors.
B- You can create metallic finishes to give your space a shiny and glamorous touch. Paint the area with a thin layer of metallic paint using a brush. Apply multiple coats to achieve full coverage. Gold, silver, iron, and many other metallic finishes are highly trending these days.
Tips for a Professional Paint Finish
To achieve a flawless and professional paint finish on your walls, observe the following techniques
A- Do not compromise on the quality of your tools to ensure longevity, full coverage, and better application experience. High-qualityThe brushes, sponges, rollers, dragging, and tape can save you from the trouble of repainting and touch-ups.
B- Mix your paints thoroughly before application to avoid patches, color variations, and uneven finishes in your paintwork.
C- To achieve full coverage, apply multiple coats of paint. Before applying another coat, ensure that the first coating is completely dried.
D- While working in sections, maintain a wet edge. Blend all the sections thoroughly while the paint is still wet to achieve a smooth finish on the surface.
FAQs
Q1- What are the painting techniques for old walls?
Ans: Prepare the walls by thoroughly cleaning and covering the holes and cracks in them. Wait until the filling dries. If the walls are not already treated or you desire a color variation, use primer on them. As soon as the primer dries completely, start applying the first coat of your desired paint color.


Leave a Reply